Well, dealing with your old tiles during residential, commercial, or retail space renovation can be stressful and messy.
However, tiles have always been a popular and practical flooring choice.
Today, more innovative flooring solutions are made available in the market, and people are curious about them. Epoxy flooring is one of the top choices, and many people consider having the switch.
Nevertheless, removing tiles is messy and time-consuming. It seems like the go-to solution for most people, while the truth is that there are simpler and better ways to deal with it.
We are here to help you have a trouble-free transition from tiles to epoxy flooring. We are the best flooring specialist in Melbourne, guaranteed to provide you with the right solution that best suits your needs and budget.
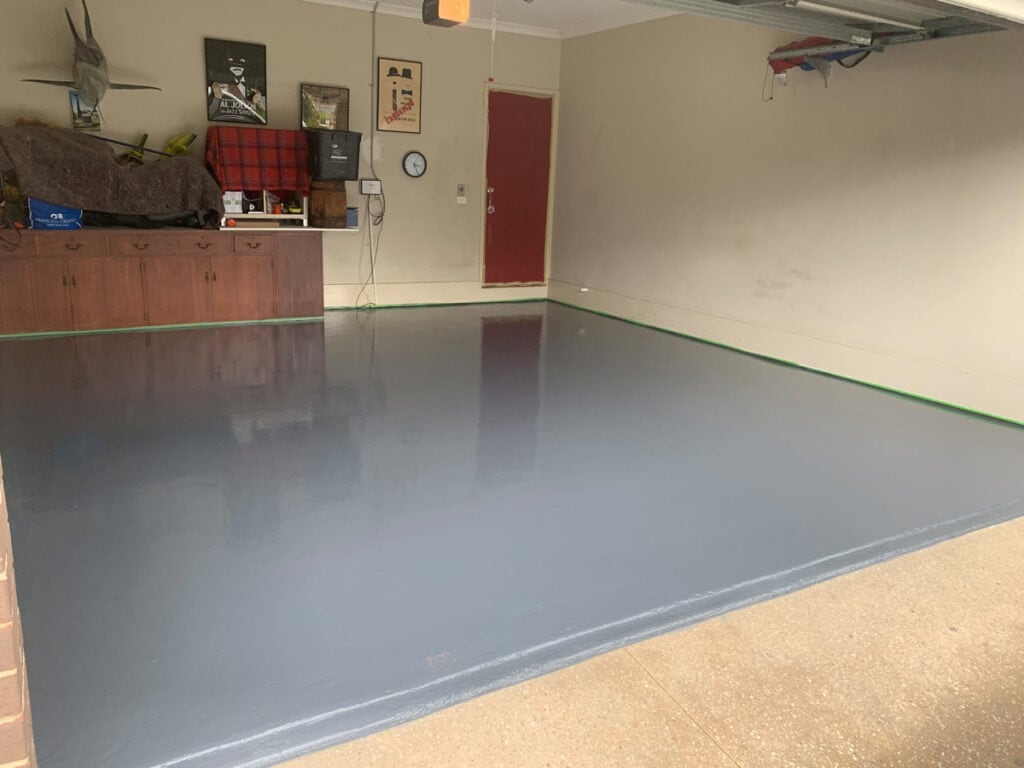
So, back to the question, Is it possible to go over your tiles? The answer is yes, it's possible. It's much more convenient in many ways. And choosing epoxy allows you to pick from a wide range of designs highly customisable by you.
Switching To Epoxy Over Tiles
If you are decided to make the switch, let's get on to prepping your floor. If your floor is all good and stable, the first concern we must deal with is epoxy adhesion onto the tile. It needs to stick to the tile for a good and long-lasting result.
Take a moment to look down and identify the existing tiles you have on your floor. If the tiles feel rough and unglazed, it only needs to be cleaned thoroughly with soap and water and let dry.
If needed, removing the dirt and digging into those grout lines could also be done. But if you have glazed tiles on your existing floor, it would need additional preparation. Light sanding will remove the gloss from the tiles and have a rougher surface, making it easier for the epoxy to bond on the floor. Also, note that the glossy finish can be because of a sealer applied to the tiles. It is usually applied to prevent them from looking dirty. You would also need to grind these sealers off the tile for better results.
Are Grout Lines To Stay Or Not?
Look closely at the grout lines of your tiled floor. As mentioned, it is better to remove the dirt in between. If it's too much, dig it out to ensure it wouldn't ruin the new floor. The dirt present on your grout can affect the adherence of the epoxy.
Grout lines are the main drawback when it comes to tiles. It may look clean and sleek at first, yet it accumulates dirt which is very unpleasing to the eye. It's non-hygienic, too.
What If The Tiles Crack?
Take note that if some of the tiles are loose, it'll be better to remove them. When some start cracking while grinding, the bond between the floor tile and the concrete is not very good, making it unstable and risky.
Remember, it's better to consult a flooring specialist for an inspection than to take things into your own hands without the proper knowledge and experience. Okay, so what's next?
Once we're all sure that it's safe and sound and squeaky clean, we'll need to get your floor FLAT. Nobody wants to see those grout lines appearing beneath your seamless floor. Something needs to be done about it. Getting the floor flat could be achieved thru either grinding or applying a levelling compound. And, the latter is much preferred if there are grout lines to be covered.
In some cases, installing a self-levelling compound could still not be enough to hide the joints. It's not because of improper filling but because of how the light affects the epoxy floor. An effective way to amend this problem is to install two layers of the levelling compound. The first one would serve as the filling layer, applied thinly. The finishing coat would be thicker with a strong, suitable tint by then. Well, an epoxy grout could also be used to fill the lines, followed by sanding then installing the final coat.
So is epoxy over tiles possible in your space? It's hard to tell from the outside if your tile flooring is stable or they're just faking it. There are cases when people would wake up and find that their tiles are cracked and popping on the floor, yet it was all fine the day before. If your tiles are found unstable during the inspection – or in some cases during the preparation phase – then maybe going over the top is not meant for you. You might just be risking everything here – time, money, labour. Taking risks is a brave thing, but not all risks are worth taking. In the end, always aim for a long-term solution.
Different kinds of approaches can be applied to fulfil the tasks on hand in the construction industry. Further, each case has its unique challenges, and our team always finds innovative and effective ways to solve them.
Epoxy Flooring Vs Tiles For The Home: Which Is Best?
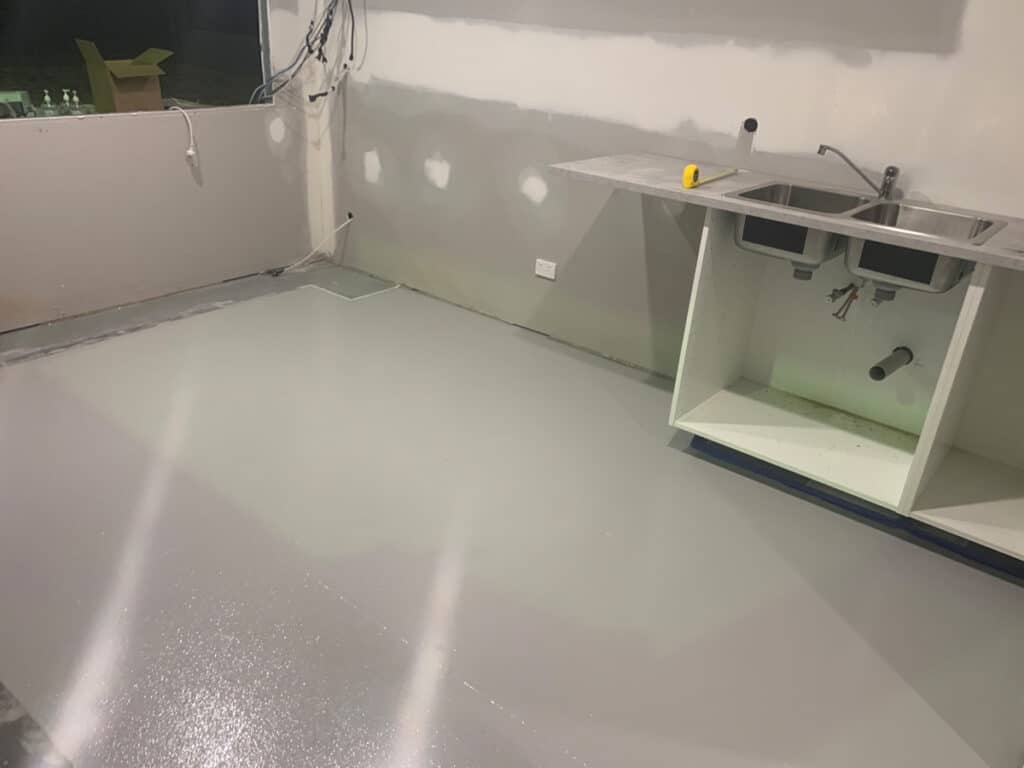
Epoxy Flooring Vs Tiles – Which Looks Better?
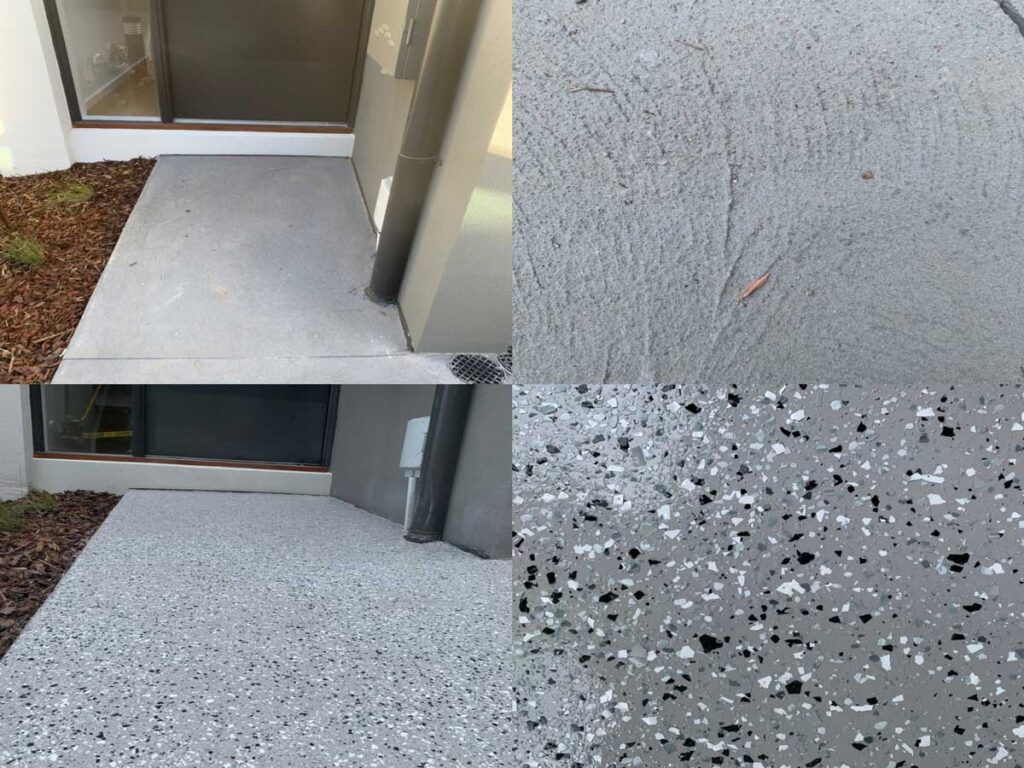
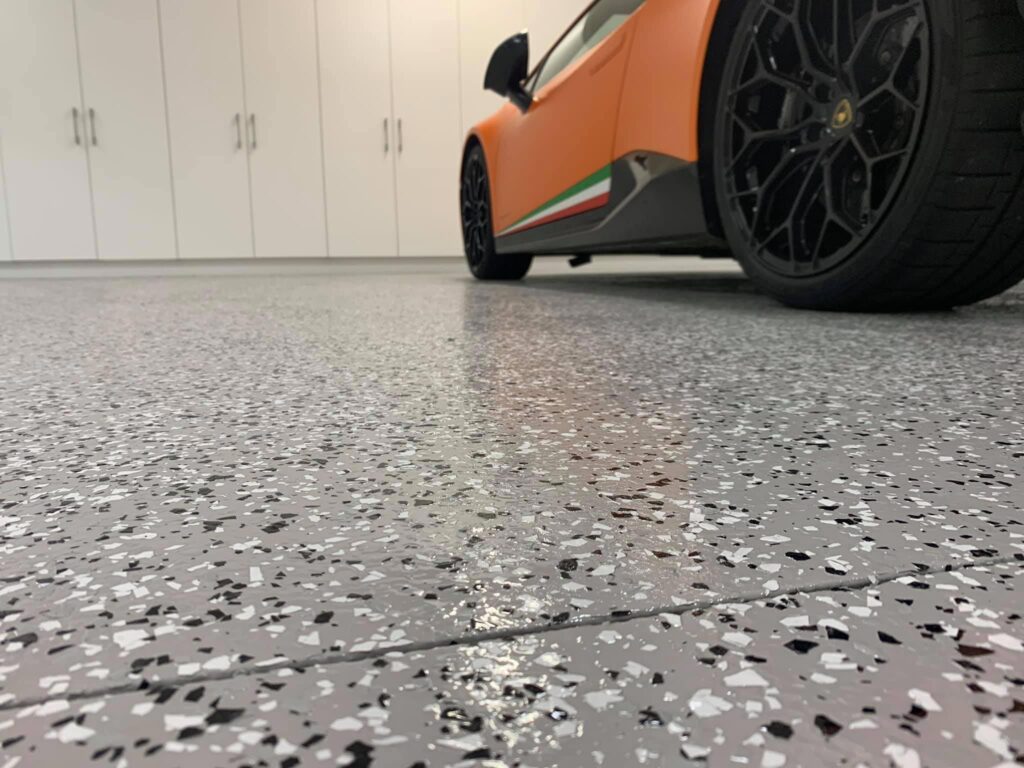
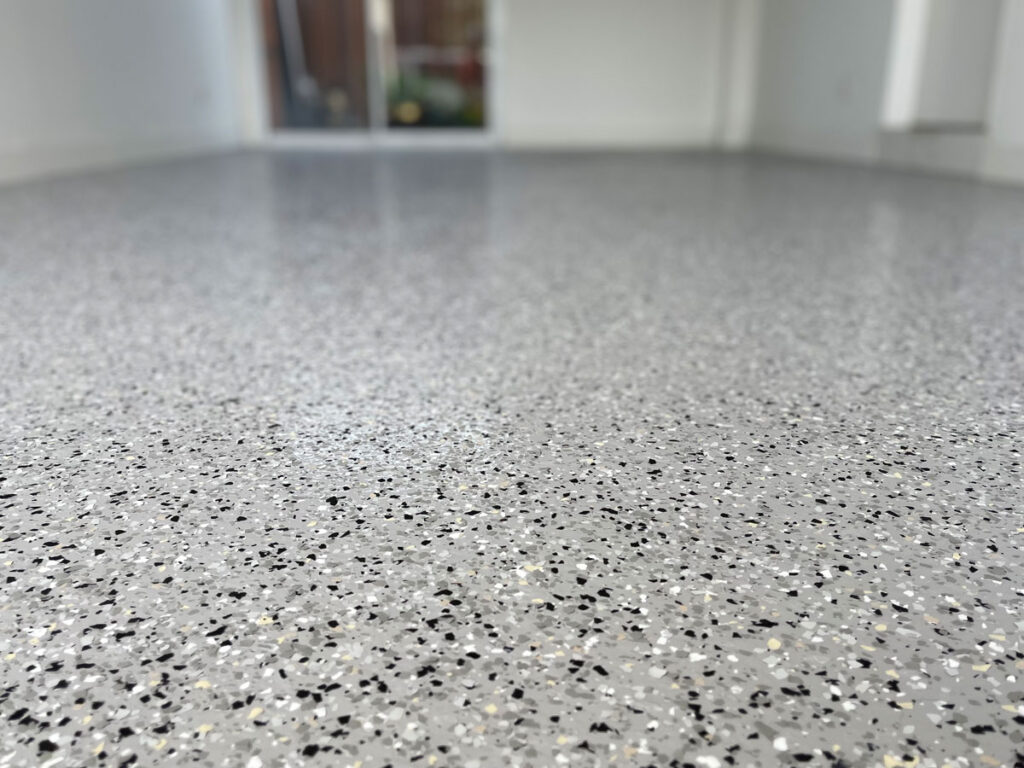
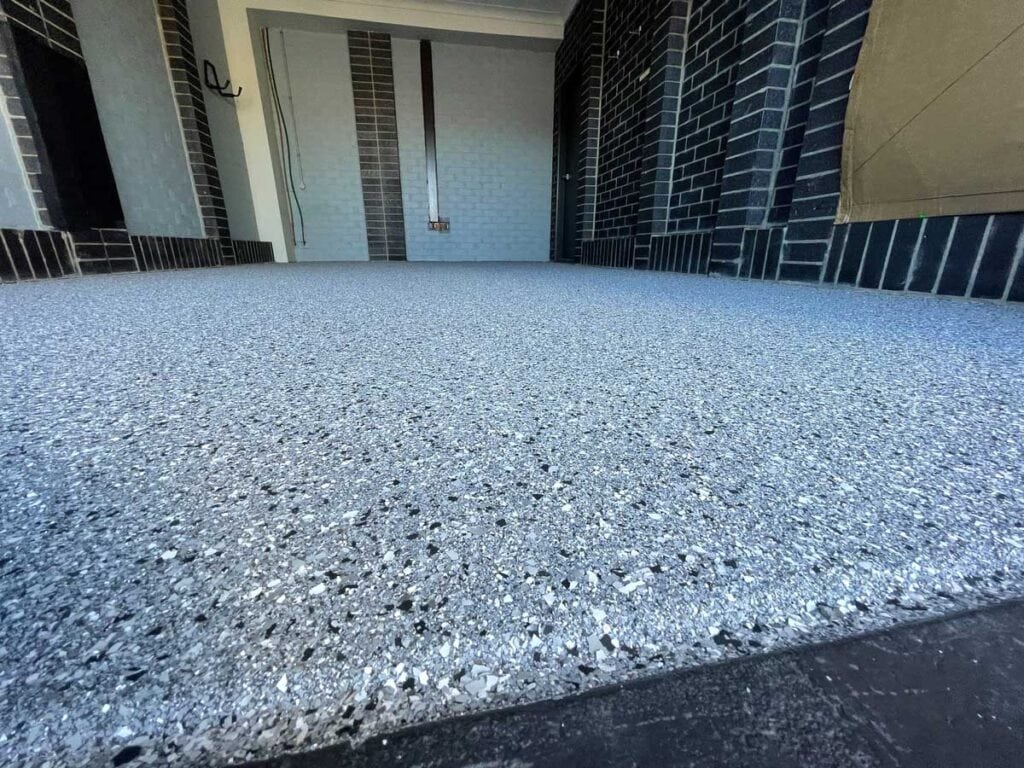
We all know how beautiful tiles can look, but the aesthetics of epoxy floors should not be underestimated. Epoxy comes in a wide range of hues, textures, and designs easy to customise – from marble to terrazzo looks. The recent trend to add flake or quartz to epoxy is a fantastic way to spice up your floor, and it looks beautifully textured and modern. Epoxy can also make a space look bigger as it is a seamless option, while tiles have grout lines that visually break up a floor and make the area appear smaller.
Durability
No tile is really in the same ballpark as epoxy flooring for durability. And did you know that epoxy flooring is stronger than concrete? As a result, epoxy will hold up to heavy-duty wear and tear, such as vehicles, tool boxes being dragged over it or heavy items being dropped on it. This is a significant factor if you are looking at installation in garages or high-traffic areas where tiles chip or crack. Note that epoxy is not indestructible, though. If abused, it can still chip or crack – and it is not suitable for substrates with dampness or movement issues.
Stains, Dirt And Maintenance
If you've been dreaming of a white floor but are concerned about maintenance, epoxy may be your answer! You don't have to worry about staining as epoxy flooring is resistant to oil, gas, bleach and most other chemicals and materials.
Ceramic tiles may look sparkling when they are first installed, but dirt accumulates in the grout lines over time, becoming a breeding ground for bacterial growth and making them hard to clean. Epoxy floors are free of joints, so bacterial growth isn't a problem and cleaning your epoxy floor is a breeze – just vacuum and mop.
Cost
Epoxy flooring is usually cheaper than tiled flooring, but it depends on the qualities and finishes you compare. Epoxy can cost anywhere between $30-$100 per sqm installed. The price range for vinyl tiles is similar, while for ceramic tiles, the average cost is a lot more – $90-$150 per square metre. As with concrete flooring, the larger the room, the cheaper each square metre will cost, so epoxy is more cost-effective for larger spaces.
Installation, Repairs And Removal
Getting the existing floors ready for applying epoxy requires a significant amount of preparation. Applying the epoxy coating takes several days due to the drying time required, so installing an epoxy floor can take longer than tiling.
Also, changing the colour or design or removing the floor can be labour-intensive and costly once the epoxy is applied. Like tiles, epoxy floors can be slippery when wet, so anti-slip additives need to be used when installing the floor to make the surface safer when wet.
Can You Do It Yourself?
You can install an epoxy floor yourself with the DIY solutions available. Still, epoxy flooring is a fairly difficult process (not confused with simply painting a garage floor!).
Solutions must be mixed, the concrete base must be prepared just right, and the drying and layering process must be precise. Any mistakes will result in chipping, uneven flooring or bubbles, which can be difficult to rectify. Therefore, it's best to hire a professional installer with the equipment and training needed to ensure a stable and beautifully finished job.
Surface Preparation
The quality and type of the wall or floor surface you'll be tiling over is a key factor that will determine the success of your finished job.
Floor Surface Preparation
- Internal dry floor preparation
- Internal floor areas include all living areas, entry foyers and hallways, kitchens, any area that is not specifically designated as a wet area that requires waterproofing before tiling.
- Dry floor surface preparation quick tips
- Our some quick tips for all types of dry floor surfaces.
- Dry floor surface preparation in detail
- When preparing concrete floors, wooden floors, plywood floors, and more.
- Internal floor area preparation how-to
- How to prepare concrete, compressed fibre cement, and timber food substrates.
- External floor surface preparation
- Tips to ensure your outdoor base results in high quality and performance
Wall Surface Preparation
- Internal wall surface preparation
- The better your wall looks, to begin with, the better your tiles will look and the better your result.
- Drywall surface preparation quick tips
- Covers preparing bricks, existing internal tiles, painted surfaces, concrete, plasterboard, concrete walls, shower recesses to swimming pools.
- Drywall surface preparation in detail
- When preparing plasterboard, brickwork, cement renders, set plaster, compressed fibre cement sheets, painted surfaces, existing tiles.
Tiling Over Existing Tiles
- Tiling over existing tiles
- You definitely can tile over old tiles!
- It's a fantastic way to save time and money on a reno, but there are a few things you need to look out for.
- Removing old wall tiles
- If you decide to remove the old tiles, retiling onto the same plasterboard or compressed cement sheet underlay may seem the best solution. You should, however, be prepared to remove and replace the underlying plasterboard or cement sheeting if the old tiles do not come away easily.
Wet Area Surface Preparation
- Gradients in wet areas
- `Gradients In Wet Areas
- Entire wet rooms are in, but you don't want your bathroom turning into a swimming pool. Please familiarise yourself with appropriate drainage and falls, so water ends up where you want it.
- How to waterproof
- Getting this part wrong can lead to big problems, grab a coffee, take five and read it carefully before you start.
- How to create and prepare a shower hob
- If you're planning to build a new shower hob for your bathroom, after you prime but before you waterproof is the best time to do it, our video tutorial is a great place to start.
Surface To Be Tiled And Preparations
- Concrete Internal and External
- New concrete should be left with a wood float finish and cured for at least 28 days. The smooth finish should be mechanically ground or scabbled. Old concrete should be clean, dry, free from all contaminants.
- Timber Floors
- Internal Must have fibre cement sheet applied over before tiling. Ask your local Beaumont Tiles store for alternative options.
- STRUCTAflor or YELLOWtongue floor (internal use only)
- Must be primed with a suitable primer, flexible membrane or have primed fibre cement sheet / ceramic tile underlay attached before tiling.
- Compressed Fibre Cement Sheets Internal and External
- Fix sheets according to the manufacturer's instructions. The sheets should be dry, clean, free from dust, grease, oil etc. Prime the sheets before tiling. Ask your local Beaumont Tiles store for alternative options.
- Fibre Cement (6mm) or Ceramic Tile Underlay
- Fix sheets according to the manufacturer's instructions. The sheets should be dry, clean, free from dust, grease, oil etc. Apply a flexible membrane with a strand mat over the joints between the sheets. Prime the sheets before tiling.
- Existing Tiling
- Existing tiles should be sound, free from all contamination, clean and dry. Remove any cracked, loose or "dummy tiles",, clean and fill gaps with a suitable patching mortar. Roughen the surface by mechanical means to remove 90% of the glaze, or ask your local Beaumont Tiles store about other options such as specialised etching primer.
- Painted Surface
- Remove all paint by mechanical means.
- Vinyl Floor Tiles
- Wash with a neutral cleaning agent. Then mechanically roughen and vacuum. Please note that some old vinyl may contain asbestos, seek specialist advice from your local Beaumont Tiles store for alternatives.
- Swimming Pools Concrete and Cement Render
- New concrete should cure for at least six weeks. Render should be left with wood float finish and cure for 14 days.
Conclusion:
Epoxy is the way to go if you want strong, low maintenance floors that will hold up over time. However, epoxy flooring does have pros and cons that need to be considered for each site. Look for specialists who can analyze your floor to evaluate the substrate's suitability for epoxy and help you decide if it's right for your home or business.
Frequently Asked Questions About Epoxy Floors
Typically, epoxy flooring lasts 2 to 3 years in heavy traffic. Commercial properties—like garages, restaurants, or factory spaces—with lots of daily foot traffic can expect this experience. However, with proper care and maintenance, your epoxy flooring may last much longer.
- Strong Application Fumes. During the epoxy application process, wet epoxy gives off an unpleasant smell. ...
- Long Curing Time. ...
- Slippery When Wet. ...
- Economical Flooring Choice. ...
- Resistant to Damage. ...
- Weather-withstanding. ...
- Aesthetically Pleasing. ...
- Protects and Decreases Wear & Tear.
Extremely safe – Epoxy is a very safe coating for your hard floors. It's slip resistant, shock resistant, and less abrasive than concrete and other types of industrial flooring. ... It can also withstand heat of up to 200 degrees, making it a better choice than most other types of flooring when it comes to fire resistance.
We can now get our epoxy full flake seamless flooring to stick to any tile, but the project's success depends on two factors. First, are the tiles in good condition and will they stay in place without moving? If you are 100% confident that they are not going to move in any way, then you can happily proceed. If they are loose or sound "drummy", IE hollow when you tap them, chances are they will lift in the future, which will cause the epoxy to crack and lift. If your tiles are loose or damaged, you will need to repair them before the epoxy can be applied.
Firstly we inspect the tiles to check for damage or loss and repair them as required. Secondly, we clean them with a solvent such as Acetone. Then we coat them with a type of epoxy called Crazybond. This forms a membrane over the top of the tiles, which is guaranteed to stick to them. Now we have a surface that our epoxy will stick to. This is the critical part of the process because standard epoxy will not stick to tiles and stay there permanently. We were recently called to patch a floor in a restaurant kitchen, which we found.
Whether you're putting epoxy over the tile floor or ripping it out and starting from scratch, it works both ways. A tile floor is more susceptible to water damage and broken tiles, so a high-quality epoxy coating could make it more durable over the years.
Most importantly, epoxy grout is strong and durable. It is highly resistant to stains, cracks, chemicals, harsh weather conditions, and climate changes. These characteristics make epoxy grout the only way to go if you're looking for the most durable, efficient way to do tile work.
